|
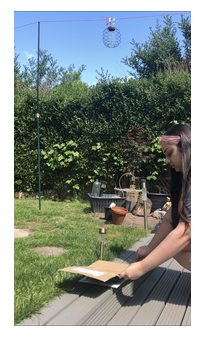
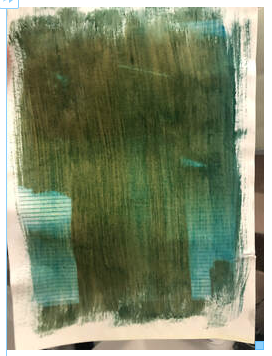
Gum Bichromate was a process introduced in the 19th century, which was often used in the Pictorialism era. While it is not a common practise in modern day, some photographers still experiment with it, and create work. Following a video tutorial created by my tutor, I edited an image which I would use for my gum bichromate. I chose to use an image of a building I captured in London 2018. I chose this image as opposed to a portrait which I commonly use because I wanted an image which tiny fine details, lots of depth and a high contrast. This is more likely to be seen in a landscape image. The image I used had texture from bricks, details from the sky and a range of tones. This will look better on a gum bichromate as it emphasises the details and dimension. The tutorial on editing allowed me to adjust settings such as clarity, highlights, shadows and contrast. I was aiming for my image to appear deeper in tone. I did these adjustments in Lightroom. I then opened the edited image in photoshop to adjust the curves and levels to further bring out the darkest blacks and bright forward the lightest whites. By using Ctrl I, my image was inverted. I then went back to adjusting the levels and curves to bring out a high contrast. After a small crop to a 8:10 size, I sent my image to print. This is the negative I will use for my gum bichromate: 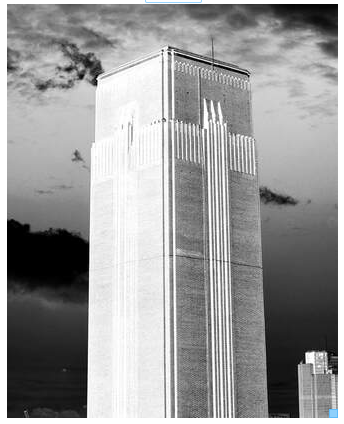 After battling with my printer for an hour, I printed the image onto acetate. The first acetate was very stripy due to issues with my printer and my second acetate was still stripy but improving. After adjusting more settings and cleaning the ink on my printer, I finally printed a good quality acetate image. However, with some lines from the printer viable. I then left the ink on the acetate to dry on a flat surface so the ink would not drip and it would stay even. My next step was to prepare my gum bichromate mixture. My tutor sent me a step by step guide to creating the mixture, painting the image and testing the exposure which I followed. Firstly I measured out my correct ingredients to mix together, and prepped my paper, following these steps: - 1 heaped tablespoon of dichromate mixed with 80ml of hot water - 5ml of gum mixed with peasize ball of paint - add 5ml of dichromate solution to gum and mix - paint paper with even strokes, going in both directions (I left a white messy boarder around the edges to add an interesting looking texture, and a "painted on" look to the gum bichromate) - let paper dry (around 20 minutes in dark) I checked my paper after about 20 minutes, and when it was dry, I placed my acetate over the paper and secure it in place with a clipboard. I took the clipboard and a piece of cardboard outside to expose my image. As it was a sunny day, I thought that this would be perfect for the experiment.
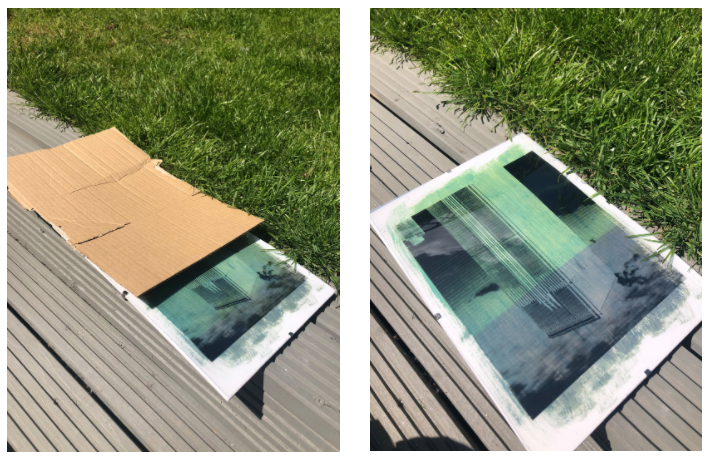 After the last time interval to expose the last section of the image, I took my print inside and took the paper out of the clipboard. The end result was very dark with unclear details. I washed the print under warm water to remove excess chemicals. This washed off in a yellow colour. Once the water was running clear, and the image did not have a slimy feel to it, the chemicals has washed away. The print then needed to be left to dry.
I found the process of creating a gum bichromate quite difficult and fiddly to do. I do not have very much experience with this. I had the resources/materials available for one gum bichromate image. However, I do not think I will order more to create another print due to budget and preference. While I agree that the end results can be beautiful, I do not think I would use this process again. This is because I do not think it is easy to achieve at home (personally), I found it hard to control, and I would have probably preferred a digital version to make it. However, I know where I went wrong with this experiment, so in future if I ever want to create another gum bichromate, I know how to do it correctly.
Despite my experiences and opinions, I would encourage other to create a gum bichromate print if they have the materials as it was exciting to see what would turn out on the paper, and it was something different to what I usually do
0 Comments
|